
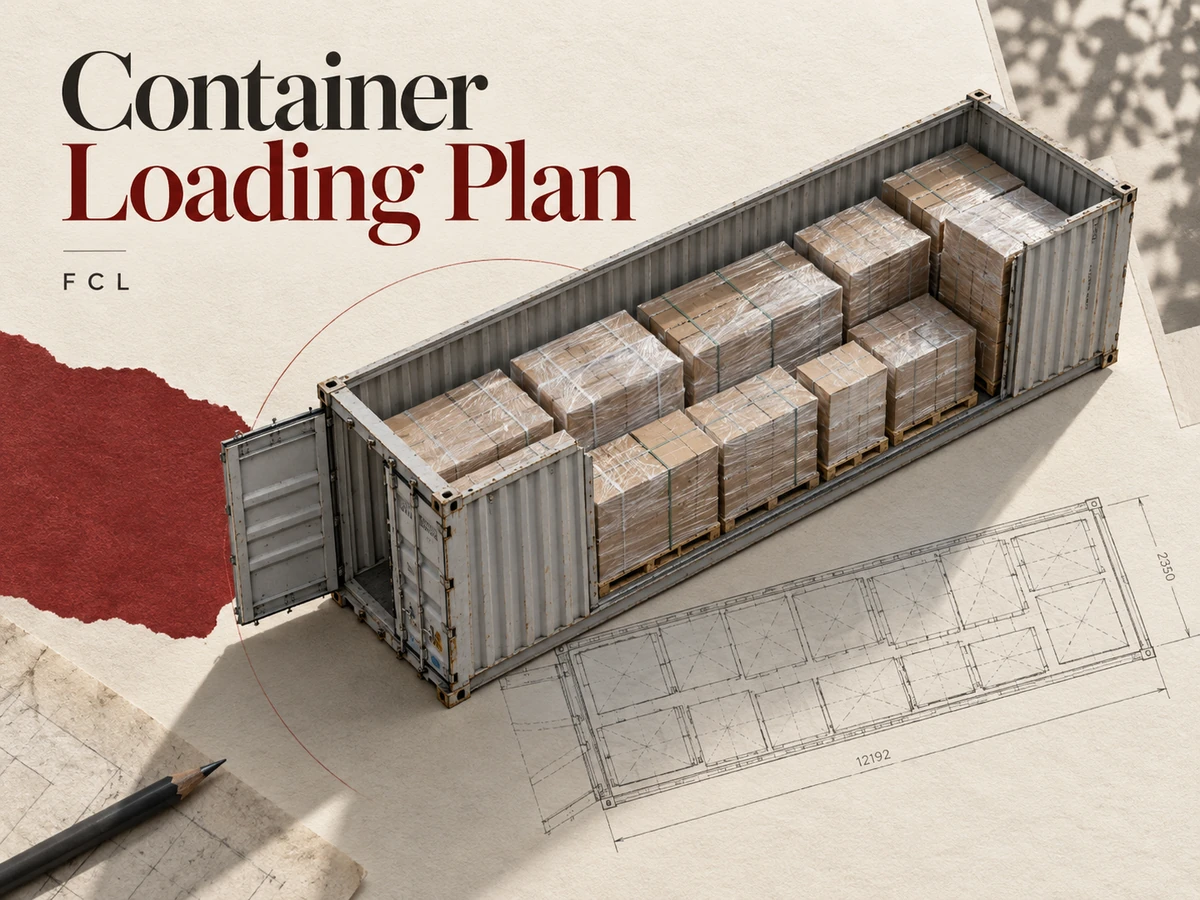
A container loading plan shows where each packed unit goes inside a container, the order it goes in, how high it can stack, and how it is secured. The loading team works from the plan on loading day, and the buyer can use it to check that every ordered unit has a place before the container leaves.
The CTU Code, a non-mandatory code of practice from IMO, ILO, and UNECE for packing containers and other cargo transport units, puts planning at the start of the packing process. On a full-container-load (FCL) shipment that combines goods from several suppliers in China, that planning can only begin once every supplier’s final cargo data is in.
What Should a Container Loading Plan Include?
Each container gets its own plan, and each plan should show:
- The container type, its internal measurements, and the door opening
- The cargo IDs and quantities assigned to that container
- A layout with each unit’s position, orientation, and approved stacking
- The loading order, plus where protection or restraint goes in
- The shipment reference, revision number and date, and a loading contact
A packing list tells you what is in the shipment. The loading plan tells the loading team where each piece goes and when. Unit IDs connect the two: give every handling unit, whether a pallet, crate, or carton, an ID that appears on the cargo list, on the drawing, and on the package itself, so the person at the container door can match what they see to what the plan says.
Collect the Cargo Data Before Planning the Load
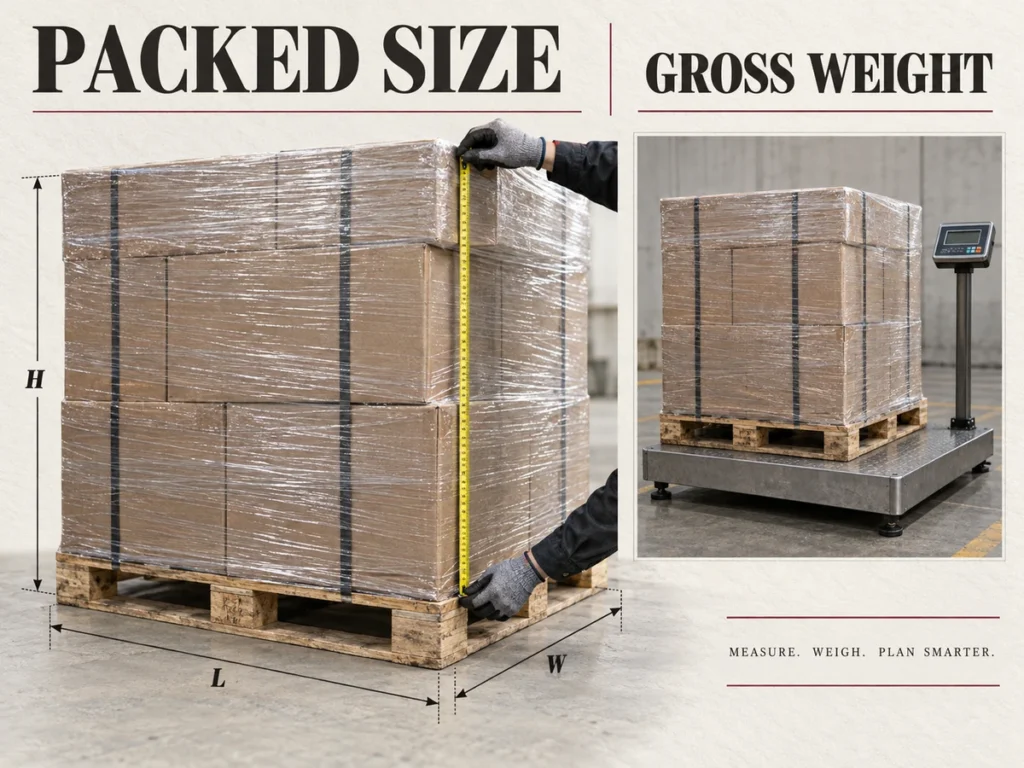
Measure cartons, pallets, and crates as they will go into the container, including pallet height, wrapping, and any overhang. Supplier figures taken before repacking or palletizing go out of date once that work is done, so re-measure and re-weigh afterward and build the layout from the new numbers.
| Cargo Data | What to Record |
|---|---|
| Supplier and order | Supplier reference, purchase order, and unit ID |
| Quantity | Number of cartons, loaded pallets, or crates |
| Packed dimensions | Outside length, width, and height of each unit |
| Gross unit weight | Weight including the pallet and packaging |
| Stacking limit | Maximum layers or supported weight, where confirmed |
| Orientation | Upright-only, rotation, or other handling restrictions |
| Special handling | Fragile surfaces, lifting points, or equipment needs |
| Receiving requirements | Unloading method and the order the receiver needs |
Count what actually enters the container. If 40 cartons ship on two pallets, the plan places two loaded pallets, and the cargo list keeps the 40-carton count underneath. Make sure each unit’s supplier reference matches its shipping mark, because the mark is what the loading team reads on the warehouse floor.
Ask every supplier for the same units. A sheet that mixes centimeters with inches, or kilograms with pounds, can hide a conversion error that only shows up at the container door. CBM (cubic meters) is length × width × height in meters, multiplied by the quantity. Total CBM tells you volume, not fit: a load can add up to less than the container’s capacity and still not go in if the unit shapes leave gaps the layout can’t use.
Check the Container and Loading Constraints
Usable capacity is less than a container’s internal volume. The door opening, the payload limit, the strength of the packaging, and the room needed for restraint all reduce it.
Usable Space and Door Access
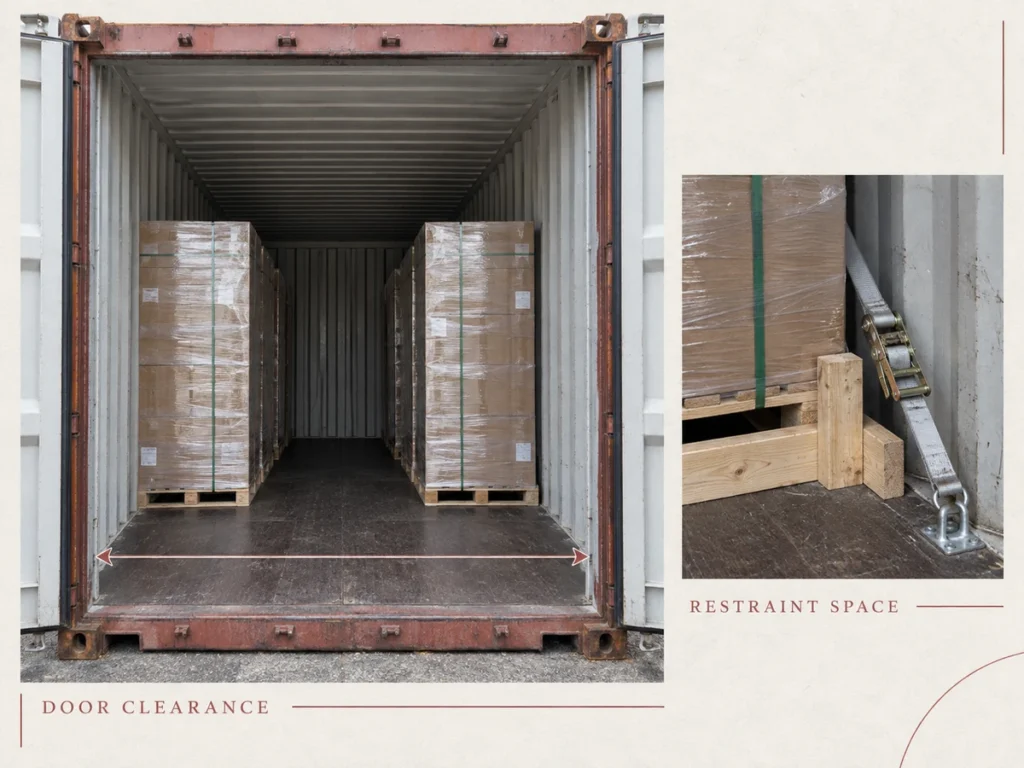
Published container dimensions are a starting point, but plan against the internal length, width, height, and door opening of the container actually assigned, since containers in the same nominal 20ft, 40ft, or 40HQ class can measure differently. Check each unit against the door opening, which is usually smaller than the interior, and leave room for the forklift or pallet jack to set it down. Where the handling method calls for it, allow space to turn the unit or back the equipment out.
Weight Distribution and Stacking Limits
Add up the cargo, pallets, packaging, and securing materials, and check the total against the container’s payload limit. Inland limits on the truck or rail leg can be lower than the container’s rating, so check those too. Keep heavier units low and spread the weight along the length and across the width. A heavy crate on a small footprint needs a separate floor-load check, because its whole weight bears on a small area of the floor.
Follow upright markings and stacking limits, and make sure the bottom layer can carry everything planned above it. Keep heavy units off fragile ones, and mark non-stackable units on the drawing so nothing gets loaded on top of them.
Securing Space and Unloading Access
Some restraint needs floor space of its own, such as blocking at the door end or bracing between rows. Reserve that space on the drawing, and write the packer’s securing method and its position into the loading instructions.
Then look at the load from the receiving end. A floor loaded container is usually unloaded carton by carton, while palletized cargo needs a forklift or pallet jack at destination, so match the arrangement to the equipment the receiver actually has. Check the units nearest the doors as well. Anything that could fall out when the doors open needs a barrier or a new position before the container is closed.
Build the Layout and Loading Sequence
Turn the cargo list into two working documents: a dimensioned drawing of where every unit sits, and a numbered sequence for the order they go in.
Drawing the Layout
- Draw the usable floor area with its internal length and width, and mark the closed end and the doors.
- Place every unit ID on the drawing, showing its orientation and approved number of layers.
- Run the weight, stacking, door, and restraint-space checks against the drawing rather than the cargo list.
- Reconcile the quantities so every unit assigned to the container appears on the plan exactly once.
A top view is enough for floor positions. If anything stacks, add a side view or layer diagram showing which units sit on which. On a floor-loaded plan, show carton rows and tiers; on a palletized plan, show pallet positions.
Setting the Loading Sequence
Number every unit in the order it goes in, and mark the points where the packer installs protection, blocking, or restraint. In an ordinary end-door dry container, loading runs from the closed end toward the doors as far as the handling method allows. The last units in sit nearest the doors, so the door end is the place for cargo the receiver needs first.
When those requirements conflict, settle them in this order:
- Weight distribution and stacking limits
- The receiving order at destination
- Keeping each supplier’s units together
Container Loading Plan Example
In this illustrative plan, ten pallets from three suppliers go into a 20ft dry container. Each packed pallet measures 100 × 100 × 100 cm (about 39.4 in per side), weighs 100 kg (about 220 lb), must stay upright, and is loaded one layer high.
| Supplier | Pallet IDs | Quantity | Gross Weight |
|---|---|---|---|
| A | A01 to A04 | 4 | 400 kg |
| B | B01 to B04 | 4 | 400 kg |
| C | C01 to C02 | 2 | 200 kg |
| Total | Ten identified units | 10 | 1,000 kg |
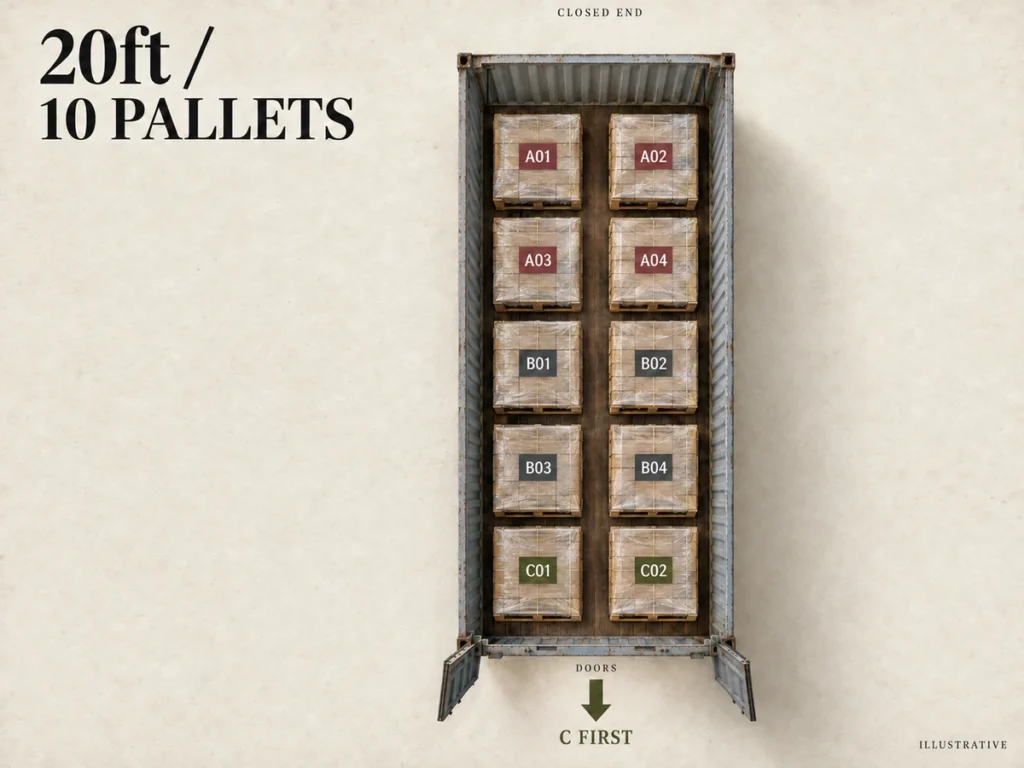
Two pallets across and five rows deep make a cargo block 2.0 m wide and 5.0 m long (about 6.6 × 16.4 ft), taking up 10 CBM. Check that block against the assigned container’s measurements and position it for balanced weight. Any space between the block and the walls or doors needs the packer’s blocking or bracing, so add those details and clearances to the working drawing.
Seen from above, the pallets sit in five rows from the closed end to the doors:
| Row | Left Pallet (Facing the Doors) | Right Pallet (Facing the Doors) |
|---|---|---|
| Row 1 (closed end) | A01 | A02 |
| Row 2 | A03 | A04 |
| Row 3 | B01 | B02 |
| Row 4 | B03 | B04 |
| Row 5 (door end) | C01 | C02 |
Rows 1 to 5 load in order toward the doors, so supplier C’s pallets come off first. If the receiver needs supplier A or B first, change the door-end allocation and recheck the layout.
The 1,000 kg total already includes pallets and packaging. Blocking, bracing, and other securing materials add weight on top of that, and that weight counts toward the container’s verified gross mass (VGM).
Confirm the Plan With Suppliers and the Loading Team
Agree on each party’s job before loading:
- The buyer sets the order allocation and receiving requirements.
- Suppliers provide final packed measurements and handling restrictions.
- The packer checks placement, load distribution, and securing, and confirms the team can follow the loading sequence with its equipment.
- The forwarder coordinates the agreed equipment and the transport handoff.
When supplier consolidation in China feeds the container, run every supplier under one shipment reference and one combined cargo list, and check each warehouse arrival against the units the plan expects. Keep one approved revision at the loading point. If a supplier ships short, packaging changes, or a unit can’t take its planned position, revise the affected allocation and sequence and send the replacement to the loading team.
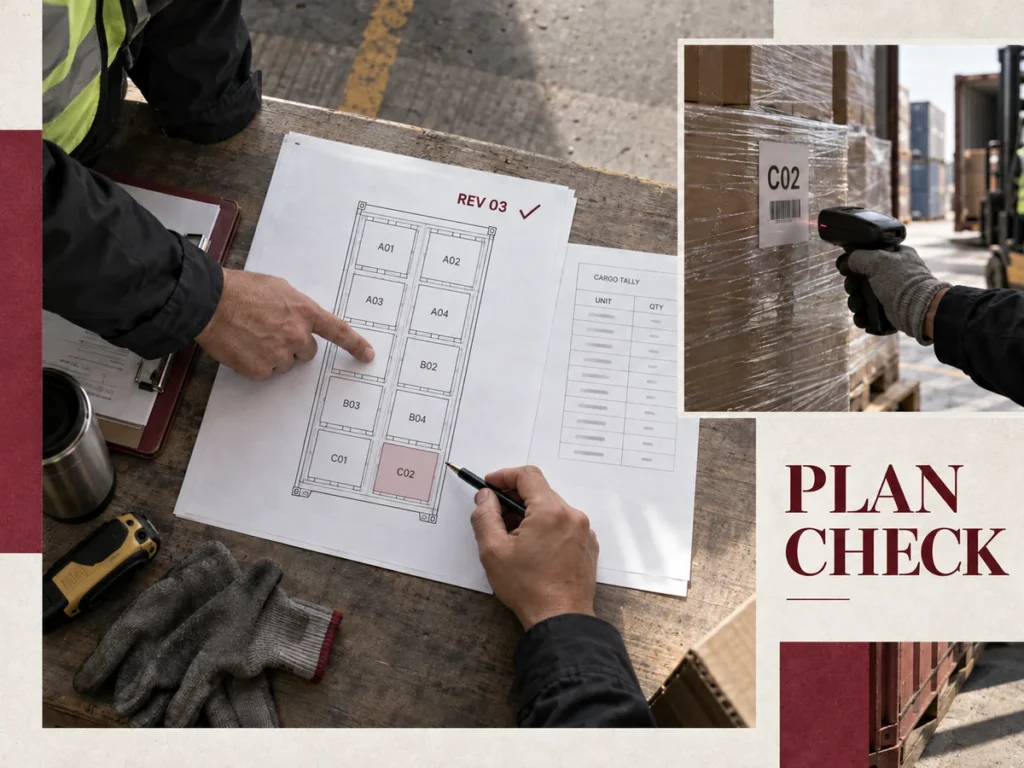
After loading, compare the actual tally with the plan and file the container and seal numbers with the loading record. If a unit goes missing later, that record shows whether it was ever loaded.
Get Consolidation Support for a Multi-Supplier Container Loading Plan
Through its freight forwarding from China, Foresmart can pick up supplier cargo, receive, count, and photograph it at a warehouse in China, add repacking or palletizing where the shipment needs it, and book the FCL ocean freight. Those warehouse counts and measurements give the plan its final figures. If a supplier misses its ready date, you decide whether to wait, split the shipment, or ship the ready cargo first, and the plan is revised to match.
To start, send the supplier list, cargo-ready dates, final packed dimensions and weights, receiving requirements, and route details through the freight quote request. Agree on where consolidation and loading will take place and which preparation work Foresmart will handle.
Frequently Asked Questions
Can I Create a Container Loading Plan in Excel?
Yes. A spreadsheet handles the cargo list, unit IDs, weights, and CBM totals well, and you can pair it with a labeled layout sketch. 3D load-planning software helps when carton sizes are mixed, but it can only work from the dimensions, weights, and stacking limits you enter, so the data still has to be right.
Is a Container Loading Plan the Same as a Vessel Stowage Plan?
No. A container loading plan arranges cargo inside one container. A vessel stowage plan assigns containers to positions aboard the ship, and the carrier and terminal build it using each container’s verified gross mass. The two terms sometimes get mixed up, so confirm which plan a supplier or carrier is asking for.
Does a Container Loading Plan Replace VGM?
No. The loading plan shows where cargo goes; it does not verify weight. Under SOLAS, the shipper must provide a packed container’s verified gross mass before the container can be loaded onto a ship. That figure covers the cargo, pallets, dunnage, securing material, and the container’s tare weight.